How to Build a Simple Expense Tracker App without Knowing How to Code

user iconRupsa Chakrabartiuser time7 min read

July 29, 2026 | 6:05 PM

Create a personalized expense tracker app without coding using no-code AI platforms like Glide or AppSheet. Connect Google Sheets, design custom forms, and build visual dashboards in minutes.
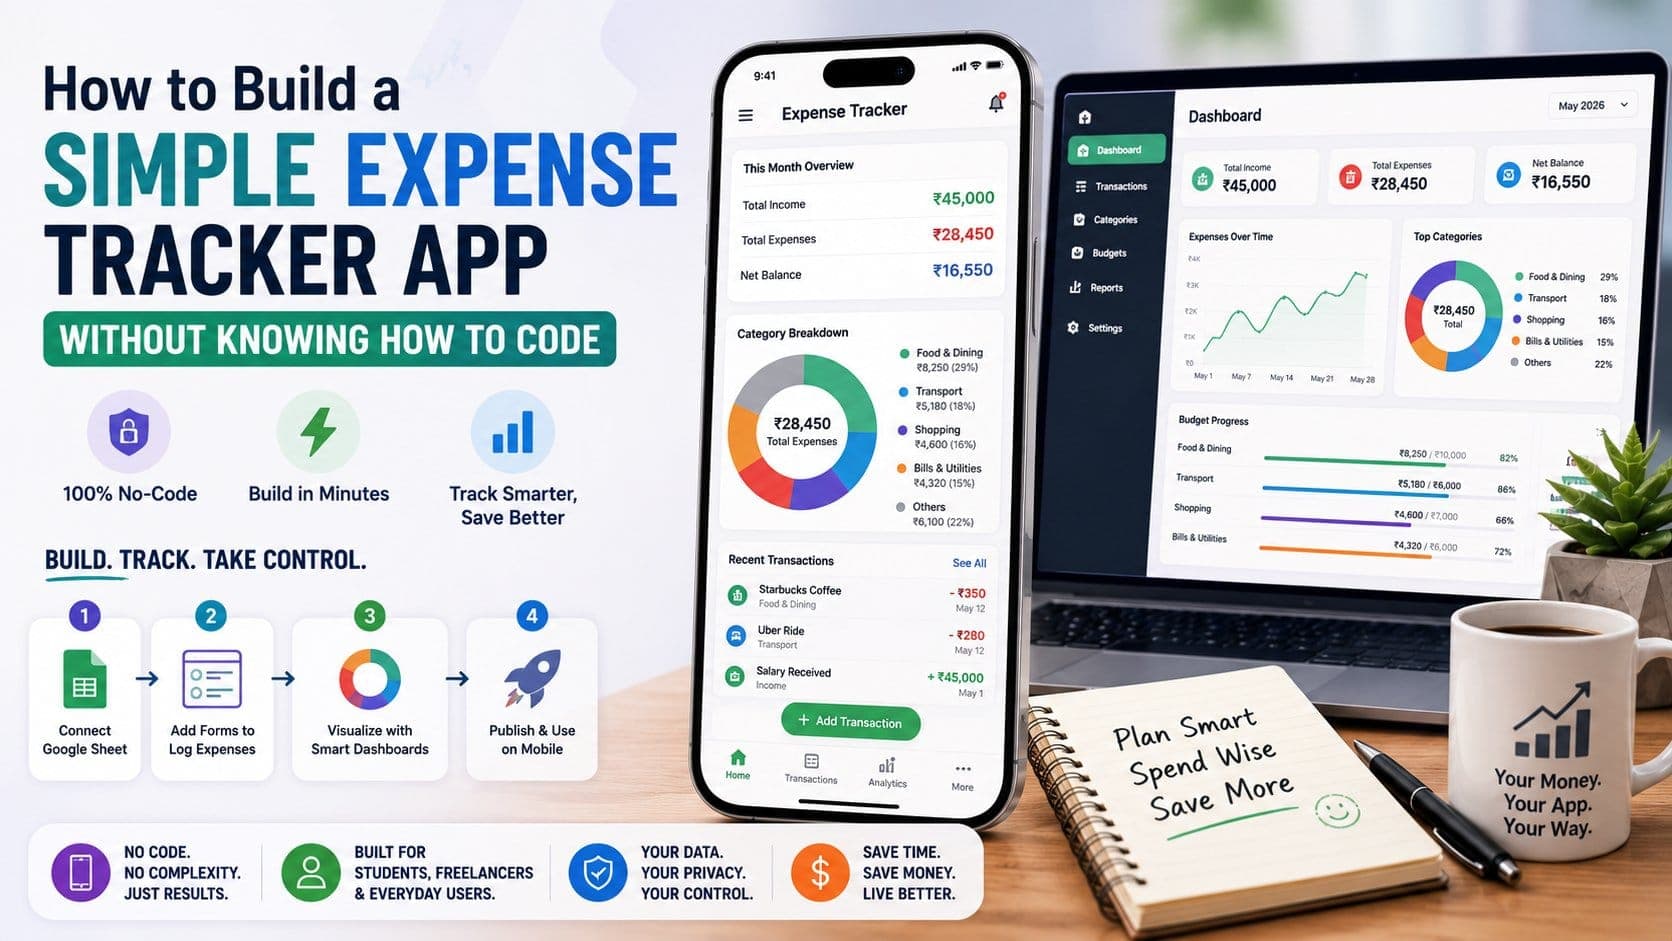
How to Build a Simple Expense Tracker App without Knowing How to Code

Now, building a simple expense tracker app does not require hours of coding and sitting in front of a computer screen, fixing syntax errors one by one. You can build applications using various AI tools such as Glide, AppSheet, FlutterFlow etc. A customized application is a brilliant way to showcase your skills as an AI coder. You do not even need basic software coding skills to start building a simple expense tracker app. You can add various features into your application like mapping your transactions, drawing out visual data from raw numbers, or a weekly recap of your expenses. 

Let's look at how to build a simple expense tracker app without knowing how to code!

Why You Don’t Need Coding Skills to Build an App Today

There is no coding required in 2026 to build automated workflows or apps because of the launch of various AI chatbots. Instead of coding by hand or staring at a computer screen for 5 hours to build one feature, you can now use AI software to code an entire application in one go. 

Building your own custom expense tracker offers several distinct advantages over downloading generic budgeting apps off the shelf:

  • Complete Customization: When you build your own application, you get to include a visual theme and the right categories. A custom app will help you track your exact financial habits, whether that involves tracking specific freelancing income streams, managing custom expense tags, or setting up unique category structures.
  • Data Ownership and Privacy: When you build your own application, you can easily control data access or even restrict the application from using sensitive data. Your tool is connected to your private cloud storage; you retain full ownership of your financial records.
  • Cost Efficiency: Regular financial apps frequently charge premium fees for simple analytics features like custom exports or multi-currency support. No-code tools offer generous free tiers that allow you to manage personal finances at zero ongoing cost.
  • Seamless Scalability: Over time, you can easily add different features such as split-bill calculations, receipt attachments, or business tax categorizations. You can adjust your app’s logic in minutes without waiting for external developer updates.

Choosing the Right No-Code Platform for Your Tracker

Choosing the right tool depends upon your preferences and technical comfort level. Here are the most preferred platforms: 

Glide

Glide excels at converting cloud spreadsheets into clean, mobile-optimized apps instantly. It automatically builds a native-feeling user interface straight from your data table, making it ideal if you want a fully functional app set up in under 30 minutes.

AppSheet

Owned by Google Cloud, AppSheet connects natively to Google Sheets and Excel. It offers deeper rules for automation and conditional logic, making it a strong choice if you plan to trigger automated email summaries or log complex multi-tier expense approvals.

FlutterFlow or Softr

If you prioritize custom visual design and layout flexibility over immediate plug-and-play simplicity, web and app platforms like FlutterFlow or Softr allow you to build custom UI components, responsive web layouts, and advanced interface flows.

For a fast, intuitive expense tracker, platforms like Glide or AppSheet provide the best combination of speed, reliability, and ease of use.

Designing Your Database Structure in a Spreadsheet

Every application relies on a structured database to store information. In no-code development, your database can be as simple as a structured Google Sheet or Airtable base.

Create a new Google Sheet named "Expense Tracker Data" and set up three primary tabs:

Sheet 1: Transactions Log

This tab acts as the primary record for every transaction entered into the app. Create the following column headers in Row 1:

  • Transaction ID (A unique text or number generated per entry)
  • Date (Format: Date)
  • Amount (Format: Currency)
  • Type (Options: Income or Expense)
  • Category (Text linked to your categories list)
  • Notes/Description (Text)
  • Receipt Photo (Image URL/Attachment)

Sheet 2: Categories

This tab holds the pre-defined categories available in drop-down menus:

  • Category Name (e.g., Groceries, Rent, Utilities, Dining, Salary, Freelance)
  • Category Type (Income or Expense)
  • Monthly Budget Cap (Currency limit assigned to that category)

Sheet 3: Monthly Summary

This sheet utilizes standard formulas (like SUMIFS) to aggregate totals:

  • Month (e.g., January 2026)
  • Total Income (=SUMIFS(...))
  • Total Expenses (=SUMIFS(...))
  • Net Savings (=Income - Expenses)

Setting Up Your App Interface with Drag-and-Drop Elements

Once your spreadsheet structure is in place, link it to your chosen no-code platform by creating a new project and selecting your Google Sheet as the source data. The builder will analyze your columns and generate a base interface.

Organize your application into three main navigation screens using the platform's layout toolbar:

  1. Home / Dashboard: A high-level overview display showing current monthly spend, recent activity, and quick-action buttons.
  2. Transaction History: A scrollable list view detailing past entries sorted by date.
  3. Analytics & Budgeting: Graphical charts displaying category breakdowns and budget progress bars.

Customize the design by selecting clear typographic hierarchy, consistent card layouts for visual list items, and primary theme colors that keep the screens easy to read at a glance.

Adding Forms to Log Daily Income and Expenses

The core functionality of your app relies on quick data input so you can record transactions on the go within seconds.

Building the Input Form

  1. Add an Action Button (e.g., a floating + button) on your main screen set to trigger a Form Screen.
  2. Set the form destination target to write directly to the Transactions Log sheet.
  3. Map interface input fields to your database columns:
    • Date Picker: Defaults automatically to the current date/time (Today).
    • Number Input: Numeric keyboard entry for transaction amount.
    • Choice Component / Segmented Control: Toggle between Expense and Income.
    • Dropdown List: Set to source dynamically from the Category Name column on your Categories sheet.
    • Text Input: Open field for optional notes.
    • Image Picker: Option to take a photo of paper receipts using your phone camera.

Adding Data Validation Rules

To prevent broken calculations, mark fields like Amount, Date, and Category as Required. Set minimum numeric values above zero so accidental negative values don't throw off your dashboard calculations.

Configuring Visual Dashboards to Track Your Spending Habits

Raw numerical lists make it hard to spot spending habits. Use visual elements on your main dashboard screen to summarize your habits instantly:

  • Metric Cards: Display total monthly income, total expenses, and remaining net balance using bold typography at the top of the Home tab.
  • Category Breakdown Charts: Add a Donut or Pie Chart component linked to the Categories summary to instantly view what percentage of funds goes toward food, utilities, or entertainment.
  • Monthly Spending Trends: Insert a Bar or Line Chart mapping daily expenditure over time to highlight peak spending days during the week.
  • Progress Bars for Budget Caps: Map a visual progress bar component comparing actual category spending against the predefined Monthly Budget Cap from your database to flag overspending early.

Testing, Publishing, and Using Your App on Mobile

Before relying on your app for daily financial tracking, run through a functional quality check:

  1. Data Sync Test: Submit several test transactions (both income and expenses) directly through the app interface. Check your connected Google Sheet to ensure rows populate correctly in real time.
  2. Mobile Viewport Verification: Preview the app layout across different mobile screen sizes to ensure forms, buttons, and visual charts render without text overflow.
  3. Publishing as a Web App (PWA): No-code tools allow you to publish your creation instantly as a Progressive Web App (PWA). Hit the Publish button to generate a unique link or QR code.
  4. Install to Phone Home Screen: Open the link on your mobile browser, select "Add to Home Screen," and use your custom app like a native mobile app without going through app store review queues.

With the customized application, you can easily build features to your liking. You do not have to learn software engineering from scratch to build customized applications in 2026; you can just learn how to use various AI tools to your advantage and build things in a second. 

 

BEGINNER30 DAYS6 HRS / WEEK

AI for Campus

AI for Campus — Your AI Edge in College & Beyond. Powered by Claude by Anthropic · 30 Days · All Streams Welcome. A first-of-its-kind AI literacy programme for students entering graduation and post-graduation. This is not a theoretical course — every session puts Claude...

BEGINNER TO INTERMEDIATE3 MONTHS2 HRS / WEEK₹1,501 OFF

Claude AI for Shopify

This bootcamp is for D2C founders, e-commerce entrepreneurs, and students targeting retail tech careers. Build and grow a Shopify store end-to-end using Claude as your content engine, ops assistant, and analytics co-pilot. Go beyond basic tutorials — integrate AI into r...

₹5,500₹3,999
Enroll Now →
BEGINNER TO INTERMEDIATE3 MONTHS2 HRS / WEEK₹1,501 OFF

Claude AI for Business Analytics

This bootcamp trains analysts, finance pros, ops managers, and consultants to turn data into decisions using Claude as an AI co-pilot. Participants learn to clean data, write SQL, build dashboards, interpret KPIs, and deliver executive insights — no data science degree ...

₹5,500₹3,999
Enroll Now →
BEGINNER TO INTERMEDIATE3 MONTHS2 HRS / WEEK₹1,501 OFF

Claude AI for Content Creators

This bootcamp is built for content creators, copywriters, social media leads, and aspiring writers who want to use AI as a creative co-pilot — not a ghostwriter. In a world where content is the currency of influence, this programme ensures you produce more, faster, with...

₹5,500₹3,999
Enroll Now →
BEGINNER TO INTERMEDIATE3 MONTHS2 HRS / WEEK₹1,501 OFF

Claude AI for Digital Marketing

This bootcamp is built for aspiring marketers, growth hackers, and performance specialists. In a world where content velocity wins, this programme ensures you enter the industry with a real competitive advantage — the ability to plan, create, and optimise full marketing...

₹5,500₹3,999
Enroll Now →
BEGINNER TO INTERMEDIATE3 MONTHS2 HRS / WEEK₹1,501 OFF

Claude AI for Vibe Coding

This bootcamp is built for non-coders, first-time builders, and anyone who has ever had an idea for a product but couldn't code it. Using natural language and Claude's AI capabilities, you will ship real apps, websites, and automations — without memorising syntax or sit...

₹5,500₹3,999
Enroll Now →